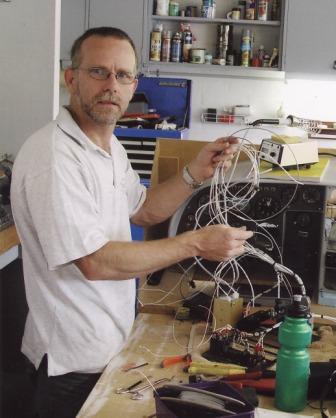
The first few are from the original builder, this one shaping the foam between a temporary template and the firewall.

And this one from the builder showing the building of a fuel tank. This work had already been stripped out when I took over the project.

I have a couple of concerns with the KR2 design; 1. there is little or no baggage room, and 2. they tend to be a bit tail heavy (mine probably more so with the larger tail and the extra stretch). I needed some way of addressing both of these so I came up with a forward locker concept. With this and a small space behind the seats I could move luggage around to balance out the plane while loading it. The W&B should remain relatively stable in flight as the fuel is in the wings.
This one then is me mocking up the space I can use. I settled on allowing 200mm behind the instrument panel as this was more than enough for my plan to fit a Dynon D180 and Microair radios. This would bite me later on (see the second instrument panel post).

I made a simple male mould out of ply (sorry no photos) and then covered this with a couple of layers of glass to make the outside skin of the locker box.

And this is what it looked like once removed from the mould. In the foreground you can see the start of the centre wall.

Yours truly preparing a piece of foam ready to attach to the inside of one of the walls. Later I will fillet the edges and then line the inside with a layer of glass.

Here is the locker finished and sitting in place ready to be bonded under the FWD deck lid. Note the inspirational poster on the wall =).

I made a simple male mould out of ply (sorry no photos) and then covered this with a couple of layers of glass to make the outside skin of the locker box.

And this is what it looked like once removed from the mould. In the foreground you can see the start of the centre wall.

Yours truly preparing a piece of foam ready to attach to the inside of one of the walls. Later I will fillet the edges and then line the inside with a layer of glass.

Here is the locker finished and sitting in place ready to be bonded under the FWD deck lid. Note the inspirational poster on the wall =).
Still not attached but checking the fit into the aircraft.

Here I am working out how large I need to make the hatch. My original thought was a pair but eventually settled for just the one. Also note the step built into the deck to line up with a beautifully created canopy frame thanks to the original builder.

This is just before I bonded it, the forward cutout I added to improve access to a tiny bit more space in front of the locker and a small piano hinge in front of the midpoint locker bulkhead. This pin will lock down the front edge of the deck, the sides will also be pinned as you can see.

Here I am working out how large I need to make the hatch. My original thought was a pair but eventually settled for just the one. Also note the step built into the deck to line up with a beautifully created canopy frame thanks to the original builder.

This is just before I bonded it, the forward cutout I added to improve access to a tiny bit more space in front of the locker and a small piano hinge in front of the midpoint locker bulkhead. This pin will lock down the front edge of the deck, the sides will also be pinned as you can see.
Deck pinned in and locker ready to flox into place. As mentioned earlier the deck is held by piano hinges forward and sides and the aft edge is attached to the instrument panel with a few screws. This baby is not coming off in flight but will be easily removed on the ground to help with access for maintenance


2 comments:
Hi Paul. I am also building a KR2S and saw the cowl you made and believe it is the best out there. If you have a mold of this cowling would it be possible to get a copy? I live in melbourne so would be happy to pay for fright and for your costs. Any help appreciated. regards Dean
Blog: Paul's KR-2S .. my Space Modulator
Post: KR2S Instrument Panel 02
Sure ... send me a message off line.
Post a Comment