In an earlier post on my instrument panel it finished off looking like this, a mock up of the instrument panel. I had decided to mould it out of carbon fibre firstly because it looks good and secondly because I wanted to curve and roll the lower edge under.

Here I've glued a stack of MDF to create a mould for the lower edge of the panel. Hardest thing is to remember to work in reverse. As they say ... think it through 30 times, measure 20 times and cut once (hopefully only once).

Painting and sanding to a smooth finish.

This is my stack under vacuum. 1st a nice looking twill CF then a second CF this time biaxial then 4 layers of Inegera (new fibre like Kevlar but cheaper and easier to use). This then followed up with 2 more layers of the biaxial. I had a seal problem that took a while to sort out so the result wasn't as perfect as I wanted but it will do. {Learning all the time} (the CF on top of the stack is a dodgy old piece I was using to help absorb excess resin)

Out of the mould and trimmed slightly. Doesn't look half bad =).

More trimming and fitted in the aircraft. Looking better all the time. Can't wait to have all the hardware in it.

Next is a drawing in Autosketch (baby brother to Autocad) most of these lines were sent to a waterjet contractor to do the cutting for me.

This is a trial run of the watrejet. had to make a few adjustments but pleased with the accuracy of the result.

Final cut and populated with hardware. Ain't she pretty?

and one installed in the plane.


Final cut and populated with hardware. Ain't she pretty?

and one installed in the plane.
Here I an filling a few pinholes with a mixture of epoxy and carbon black. I will paint the panel later with urethane.
Bonding the D180 mount with epoxy/flox. It doesn't need to be overly strong as the instrument will pull it into the panel. I didn't want rivets or screws showing.
These warning lights are dual colored LEDs. They will be soft green when the switch is on and the fuse is OK but will glare bright red if the fuse blows.
One of my pet gripes about panels with steam gauges in smaller aircraft is there is no room for a glovebox to chuck the ERSA, a chocolate bar and a drink into. So I went for a glass panel and built myself a glovebox.
A close look at the glovebox.
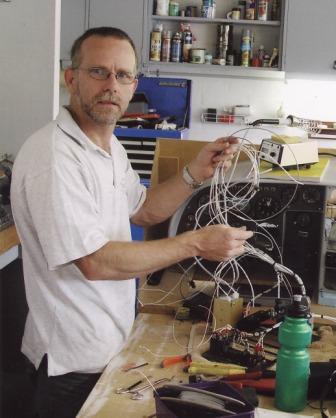
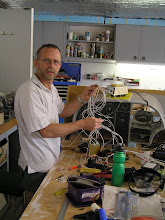
As you can see I left plenty of space between the instruments and the locker for cabling and connectors ... or so I thought.
As you can see instead of the Microair transponder I planned for (180mm deep installed) I ended up sourcing a Becker at a good price. The Becker is 240mm installed and I had allowed only 200mm behind the panel.

The offending Becker transponder installed, nice pair!


Well something had to give, and I wasn't about to go backwards and install a Microair transponder. Some slight modifications to the locker were in order. Mark up a relief ...

and cut along the dotted line. Oh how I hate cutting already finished =(

Reverse the piece just cut out and I almost have it sorted.


and cut along the dotted line. Oh how I hate cutting already finished =(

Reverse the piece just cut out and I almost have it sorted.

Next I need to flox some captive nuts into the edge of the forward deck so I can fasten the instrument panel to it. I twisted the wings up on these panel nuts for better resistance to twisting and loosened the crimped in threads a bit. Stood off to the correct depth with brass tubing left over from the pitot tube. This tube will remain bonded in place and act as a guide for the screw. Tape is so the flox won't bond to the panel and you can just see I have painted release agent on the tip of the screw so no epoxy can get down the threads. Worked a treat.
I carved pockets in the forward deck, filled them with flox and then strapped the panel in place. Whan the flox went off I removed the screws and let the whole thing harden.
The result looks great, I went to great lengths to get black 6-32 hex head screws and with the orange fibre washers under then I think they look a treat.
Couldn't resist loading up the panel to see what it looks like. I am very pleased with the result. The space to the right of the radios is for my GPS.

2 comments:
Hi Paul - very impressed so far. From bitter personal experience make 200% sure there is very adequate clearance behind the Becker transpoonder. When I built my Jab 230 I eschewed the awful Microair instruments for Garmin - and found I hade just enough clearance. However- just enough wasn't enough - and the radio failed after 8 hours flying due to intermittent chattering of the transponder wiring loom against the firewall which in turn damaged some of the pins. Finding and fixing the problem took months and cost a fortune in Avtec's time! Have fun!
Thanks for the advice Chris, already have a side exiting backshell but will keep an eye on it.
Post a Comment